Finishing interior doorways with your own hands
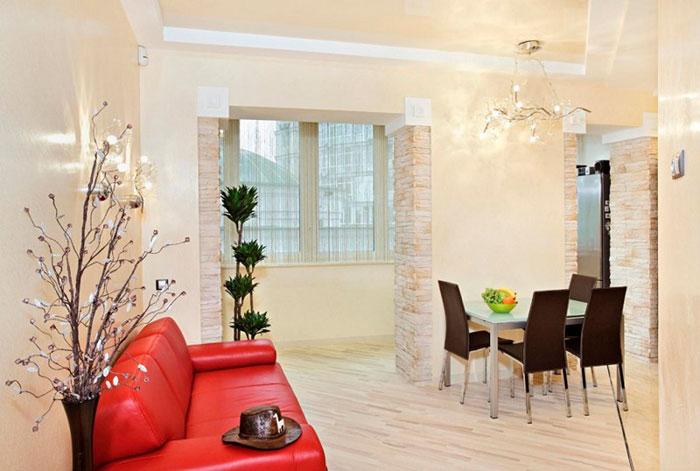
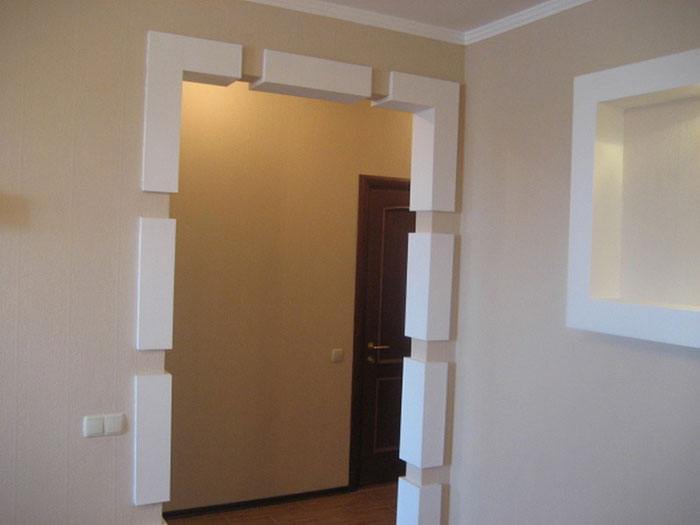
The absence of doors between rooms makes the dwelling brighter, more spacious and stylish, however, with this method of interior design, special attention has to be paid to finishing doorways. Through, merging with the rest of the walls, the openings look a little aesthetically pleasing, so they are decorated with MDF panels, decorative artificial stone or beautiful plastic. When choosing a way to finish a doorway with your own hands, do not be too lazy to view videos and photographs appropriate for the occasion. Having seen exactly how certain construction works are carried out, and what should be the result of their implementation, you will be able to sensibly calculate your capabilities and, as a result of such an assessment, make the most correct decision.
Preparing the doorway for finishing
Regardless of what kind of finishing material - PVC plastic, MDF or artificial stone, you decide to use to decorate the doorway, this opening should first be properly prepared.
If there was a door in the opening earlier, which you now decided to remove, first remove the door frame from the wall and seal the holes left from its fasteners with cement mortar. After that, plaster the opening, controlling the verticality and horizontality of its walls.
If the opening did not initially have a door, clean its walls of wallpaper, paint or whitewash and fill the cracks in the plaster with putty.
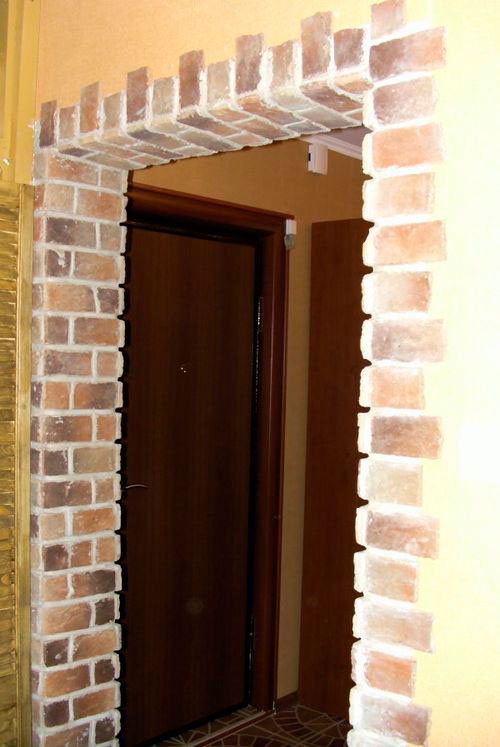
Decorating a doorway with artificial stone
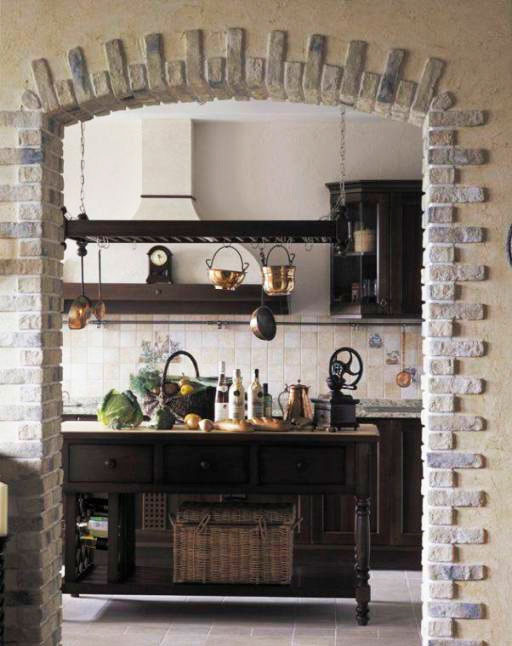
Artificial decorative stone is a modern finishing material that is inferior to its noble natural counterparts - natural granites, limestones and basalts only in weight and price, which in itself is already an argument in its favor. But ease and accessibility are not the only advantages of this material. Artificial stone is beautiful, diverse, has a rich texture and is produced in a wide range of tones. Due to the fact that this material is made by technology close to the technology of making tiles, it does not require the skills of a bricklayer to work with it - stone slabs are laid as simply as ceramic tiles.
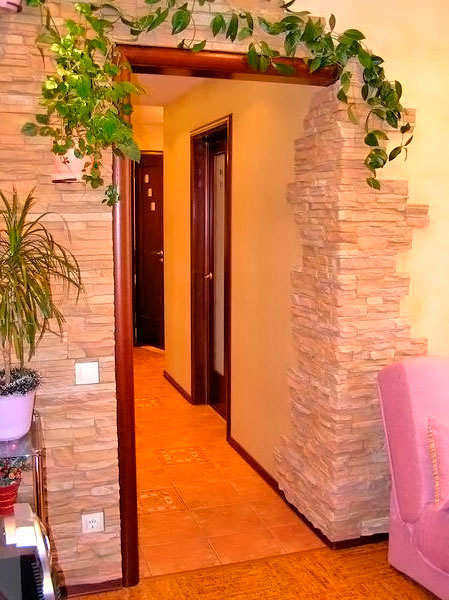
In order for the home-made stone cladding of the opening to look like a stylish and professional finish, when working with artificial stone, certain simple rules must be observed:
- masonry on both sides of the opening must be symmetrical;
- the seams between individual stone slabs must be neat, even, of the same thickness and width;
- the stone decoration of the lower part of the rectangular opening is supposed to be wider and more massive than the upper rows of decor;
- the edges of the stone frame should be made uneven - this design technique will create the effect of "ease and naturalness".

Facing the opening with artificial stone: instructions
For work you will need:
- several packages of decorative stone;
- glue - a special water-soluble dry mixture based on cement and polymer additives or a two-component polyurethane composition of the Keralastic type;
- primer;
- construction mixer and a bucket for mixing glue;
- marking pencil;
- trowel;
- level;
- spatula - simple and notched;
- paint roller.
Work order
- Treat the prepared walls of the opening with a primer, and while it dries, remove the stone tiles from the boxes and lay them out on the floor covered with an old sheet.
- Lay out the edging of the opening from the dies, experiment with their location and, having achieved a beautiful combination of shapes and shades of individual tiles, leave them in this position.
- When the primer dries, mark on the wall the outer contour of the finish and the lines for placing the tile rows.
- According to the instructions, prepare a portion of a fairly thick glue. Start fixing stone slabs from the lower left corner of the opening.
- On a small area of the surface to be decorated, apply a thin, half-centimeter layer of glue and level it with a notched trowel. Using a flat spatula, smear the underside of the stone tile with the same layer of glue and press the plate against the wall in one smooth motion. Wipe off excess adhesive from the surface of the tile with a soft cloth.
- Having lined the entire opening, mask small chips and scratches with matte paint (if any appeared on the stone during work) and cover the entire masonry with a special colorless and transparent acrylic composition, which gives the artificial stone special water resistance and resistance to abrasion.
Advice. In order for the seams between the tiles to be hardly noticeable, mix a little coloring pigment into the adhesive composition, the color of which matches the shade of the stone.
Finishing the doorway with MDF panels
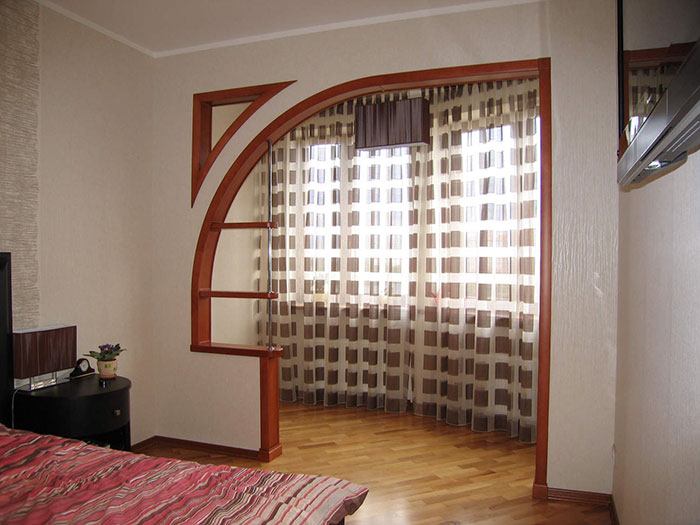
MDF panels are a budget wood-shaving finishing material, produced in the form of finished decorative parts, pasted over with natural veneer or its film imitation. MDF panels are good because they bend easily (due to which they can be used to decorate arched openings) and are very easy to install, but the main disadvantage of this kind of product is their tendency to peel and crack the cladding.
Advice. When choosing MDF panels for decorating an interior doorway, be guided by the color and texture of the wooden furniture that the rooms are furnished with.
Installation of MDF panels on the walls of the doorway
To cover the opening with MDF panels, you will need:
- laminated panels 10 mm thick;
- jigsaw;
- construction knife;
- marking pencil;
- roulette;
- finished MDF platbands;
- mounting foam cylinder and a gun for it;
- hammer;
- screws and self-tapping screws;
- glue "liquid nails";
- screwdriver;
- slats for the frame.
MDF panel mounting technology
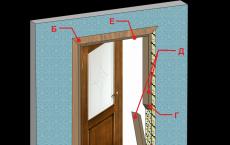
- On the inner surfaces of the opening, mount a frame of thick wooden slats. Set the lathing bars strictly horizontally and vertically (controlling their position with a spirit level) and fasten to the walls with long thin screws with plastic dowels.
- Measure the dimensions of the inner surfaces of the opening as accurately as possible and, in accordance with the data obtained, cut 3 blanks from the MDF sheet - one small for the horizontal slope and two large for the vertical parts of the opening.
- Lubricate the front parts of the frame bars with liquid nails glue and attach the cut-out panels to them (wrong side to the walls).
- While the glue has not set, adjust the location of the panels, trying to reduce the gaps between their cuts. Having achieved the desired result, firmly press the slopes to the rails and wait until the glue has completely polymerized.
- If desired, blow foam into the space between the walls of the opening and the panels.
- For reliability, additionally attach the lower and upper ends of the panels to the ribs of the crate with thin self-tapping screws, screwing them flush with the surface of the MDF boards.
- At the end of the opening, stick a trim on its ends, close the heads of the self-tapping screws with decorative caps and seal the gaps between the cladding details with a special tinted putty.
Advice. In order to prevent possible displacement of the leveled rails, drive small wooden wedges into the gaps between the walls and the crate.
Decorating the opening with PVC panels
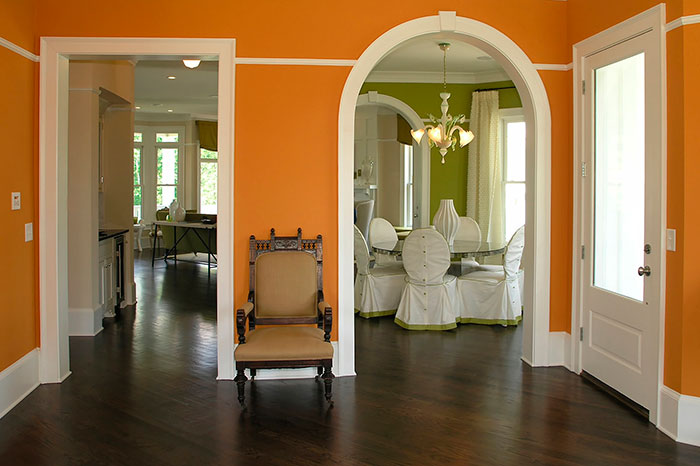
The advantages of plastic PVC panels include low cost, pleasant appearance, a variety of colors, ease of installation and excellent water resistance. At the same time, such panels break even from a slight pressure, fade in bright light and are easily scratched. Due to the increased fragility of plastic panels, only rectangular doorways can be trimmed with them.
Plastic panels are mounted directly on the walls of the opening (gluing them with liquid nails), or mounted on a pre-built metal crate.
Now, knowing the basic ways of finishing doorways, you can choose the most acceptable option and do your own design of the passages. If all the above methods of decorating seem not attractive enough to you, seek help from builders and designers and they will bring to life any of your fantasies and wishes.
How to design a doorway without a door - video
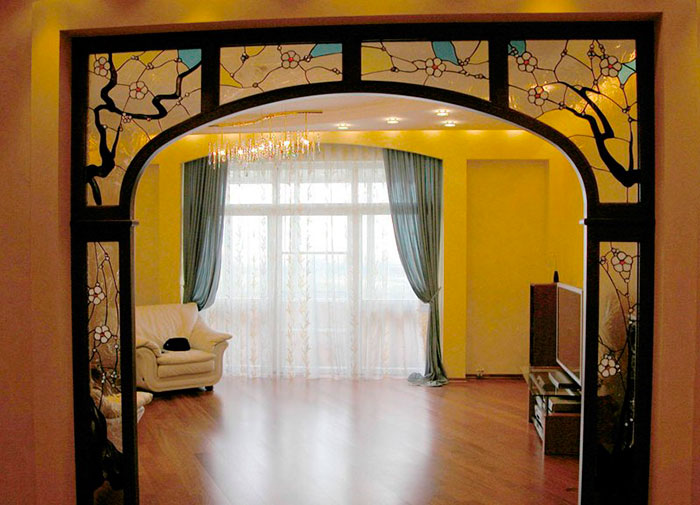
Finishing doorways - photo