Unusual do-it-yourself mosaic from your chosen pattern
The purpose of this master class is to show how to create a mosaic with your own hands from any selected image. This experience will be useful first of all to those who would like to make a large mosaic. Also, the instruction will be useful for teachers who lead classes in the composition of patterns from various materials, who will be able to create their own samples of this art form for demonstration to students. The proposed step-by-step instruction will show how to create a mosaic illustration using a scanner, an original image, a personal computer and a printer.
Step 1. Choose an illustration
Decide on the original illustration.
Save it in 20.32x25.4 format, low resolution is possible at this stage of work.
Step 2. Maximize the quality of the illustration by making the outer lines thick enough.
Print the picture on the printer. Then, using first a pencil, and then a bold pen, outline its contours.
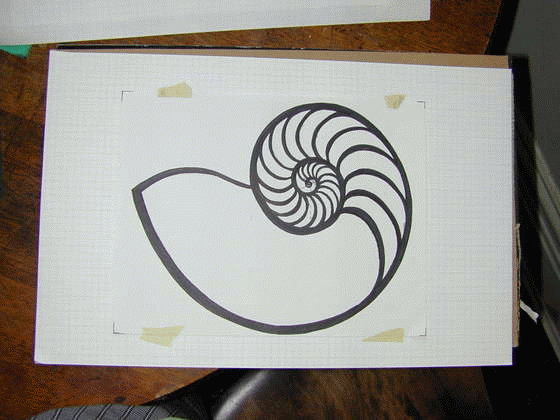
Step 3. First Sketch
Place the resulting sketch under graph paper or tracing paper.
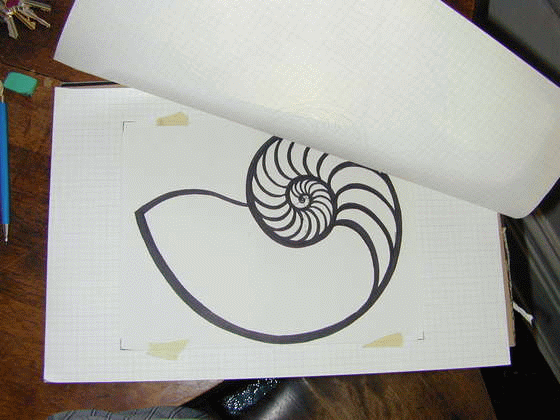
Using a pencil, transfer the picture, outlining the outer and inner edges of the bold outline. Please look at the second photo of this step to see how it's done.
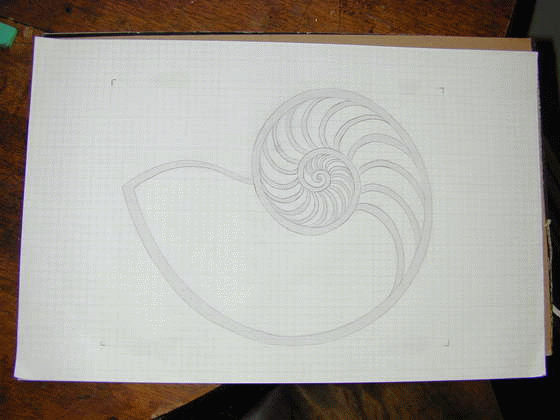
Step 4. Improve the first sketch, the outer lines
Sketch out the layout of the tiles, only for the outer lines of the illustration.
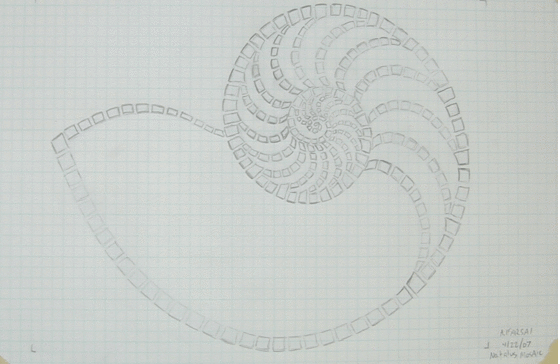
At this stage, it is better to take a picture of the picture and then work with a photocopy. So you can control all stages of work, especially if it concerns a sketch. Duplication and storage of originals at important stages of work in design modeling has its advantages.
For example, if you want to get multiple design options. Having sources at important stages of design changes will greatly simplify the work. Simply make as many copies as you like of the desired stage of work, and you do not need to manually draw the required design from the very beginning or digitally recreate the illustration using a special editor.
Step 5. Drawing with ink
On the copy made, draw the location of the tiles with a thin felt-tip pen or marker. After that, make a copy again and set the original aside.
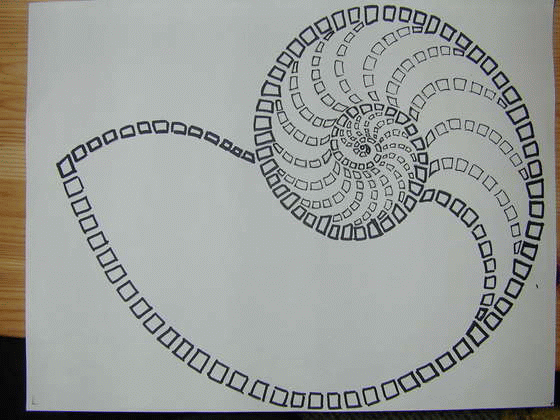
Now it's time to get creative by experimenting with lines and color. Here you can fully express your imagination.
Make several copies and draw on them the main details and shadows. I fantasized a little about the placement of the tiles inside the outlines of the picture.
Here you can be completely free and easily model the interior design of the painting.
Step 6: Final Design
After the location of all the tiles is drawn, circle them with a thin marker.
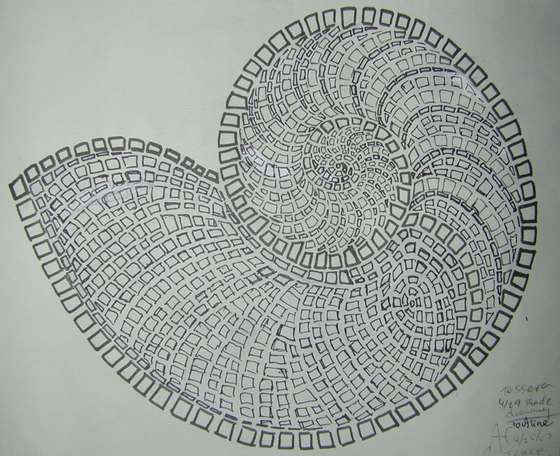
Step 7. The sketch is ready!
Now you have in your hands the final sketch of your painting, with the location of all the tiles and the color designation.
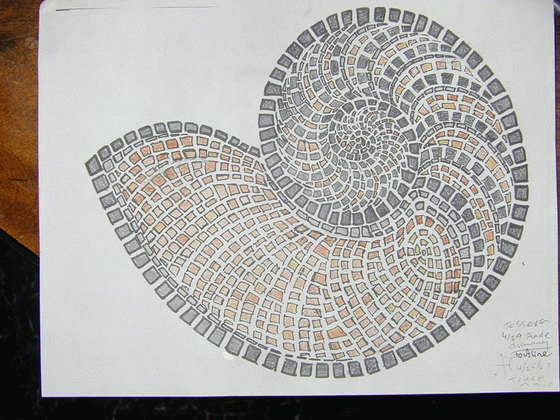
Create an additional copy that will come in handy when laying out the pattern, in order to avoid damage to the original.
Step 8: Printing the Base for the Mosaic
Scan your final sketch at a good resolution, then print it.
In the option window of the program for the printer that appears, click the button for setting print properties. In the new window, select "Page Layout Tab", then "Multi-Page box" and check the "Poster Printing" option. Choose the dimensions of the poster (2x2 pages, 3x3 pages, whichever is best for the mosaic size you have in mind).
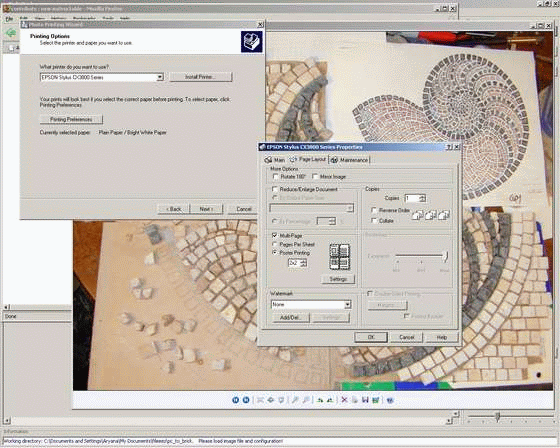
Then press the OK button and the printer will print the job on as many sheets as you specified.
NOTE
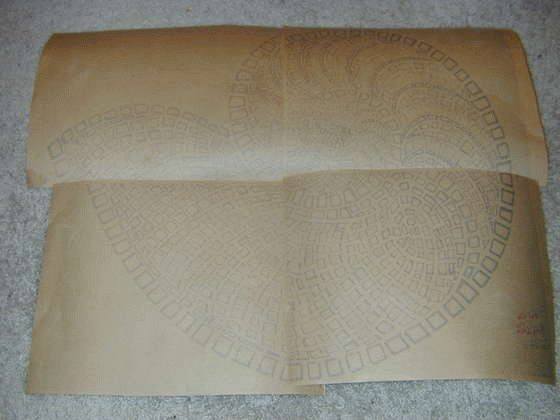
All pages will have a margin of approximately 0.3 cm. Cut these margins to fit all parts of the poster correctly.
Step 9
There are many other ways to transfer the original illustration into a pattern from different pieces. I offer a couple of additional options to the method described by me.
On drywall
Lay the original image face down on a sheet of drywall, soak the drawing with medical alcohol (70-90%). As a result, the picture will appear on the drywall. Optionally, you can trace the outlines of the picture with a pen to make the image clearer.
On a wooden surface
Lay the original image face up on a wooden surface and trace all the outlines with a hard, sharp object. The lines of the pattern will be pressed into the wood surface. Remove the source and circle the extruded outline with a pen so that the picture becomes clearly visible.
Use of fiberglass mesh
I recommend covering the poster with a transparent film before laying the grid on top, so that the glue that has leaked through the holes in the grid does not spoil the design. It is the grid that is the basis on which the tiles of the pattern are glued, face up. This is the so-called "direct set" of the mosaic.
Reverse set:
I used the reverse method of typing the pattern, so I took thick paper to print the base.
With this option, the tiles for the pattern are laid out on the pattern face down. You will not be able to see your work until you have completely completed it by gluing the back wall of the mosaic picture on top of the laid out drawing.
And only then, when the paper is soaked from the front side of the mosaic, you can see the result.
Step 10 Voila!
The finished pattern, glued to the fiberglass mesh, is ready to use.


