Laying paving slabs with your own hands: step by step instructions with a photo
For masters who lay paving slabs with their own hands, step-by-step instructions will help save the budget for arranging walking paths and parking lots near the cottage. The technology is the same for tiles made of concrete and polymeric materials. Work should be carried out in the summer in the absence of precipitation.
This coating allows you to completely avoid concreting and other "wet" finishing processes, but only on soils with normal bearing capacity. If the site is located on a fresh embankment, undermined and problematic soils (for example, dusty sand or pure clay), has a complex terrain, it is necessary to concret the base to ensure a rigid underlying layer and even distribution of loads on the soil.
On sands, gravel, rocky soil, sandy loam and loam, it is enough to remove the arable layer and replace it with non-metallic material:
- paths - sand;
- parking - crushed stone 5/40.
Crushed stone parking lot.
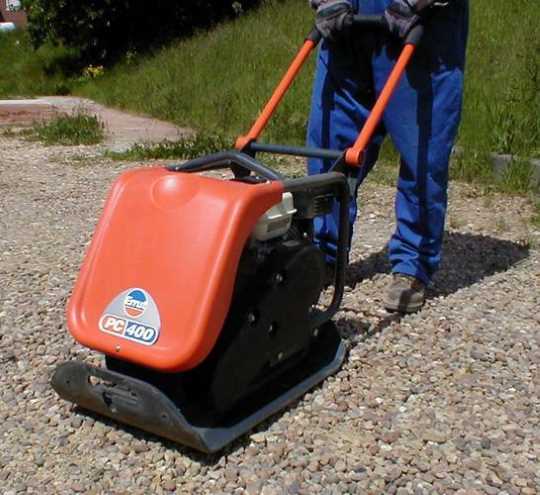
To exclude mutual mixing of soil with inert materials, the bottom of the pit should be lined with geotextiles and this non-woven material should be brought to the side walls. It is necessary to compact with a vibrating plate layers of 10 - 15 cm maximum thickness, as in the photo below.
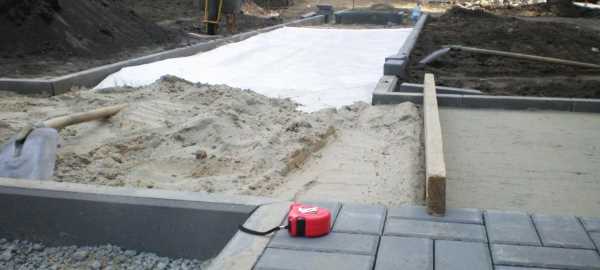
geotextile layer.
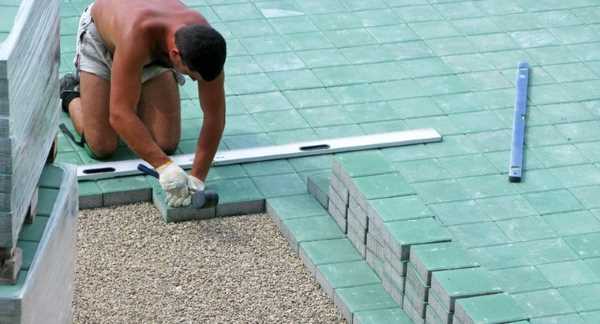
A vibrating plate with an electric or gasoline drive will be needed in the further stages in any case. Therefore, it is either rented or made by hand. You will also need a tool:
- the rule is special, made from a board, ordinary plaster 1.5 - 2 m;
- rubber mallet - for laying paving slabs (TP) and mounting curbs;
- level - preferably a laser one, but a bubble one will do, on difficult terrain - a hydraulic one;
- hard brush - needed to fill the seams at the last stage;
- LBM ("Bulgarian") - used for cutting cladding elements;
- cord - marking the route, slopes;
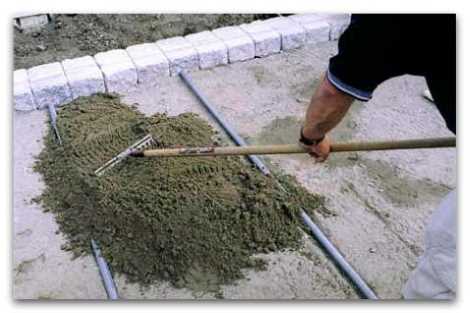
- trowel and shovel - backfilling and leveling sand.
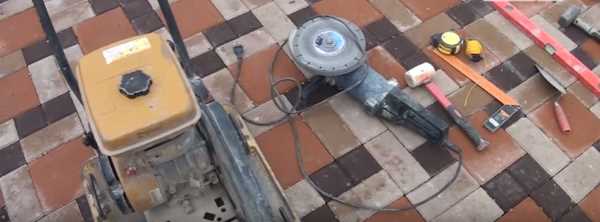
Tool for paving TP.
Important! Crushed stone is laid in its natural state, sand is abundantly moistened, it is not necessary to spill it from a hose / bucket, so as not to create a top water in this technogenic layer with your own hands.
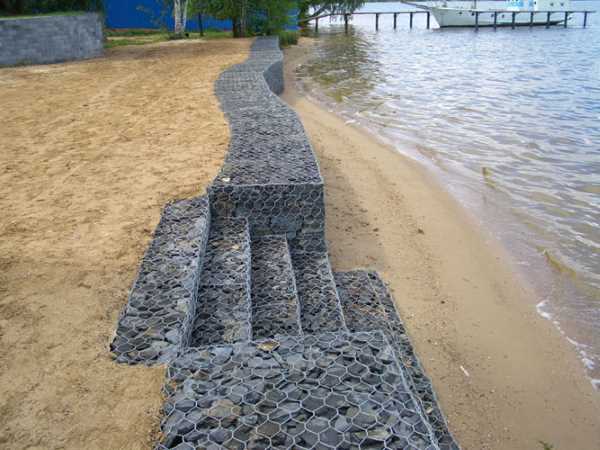
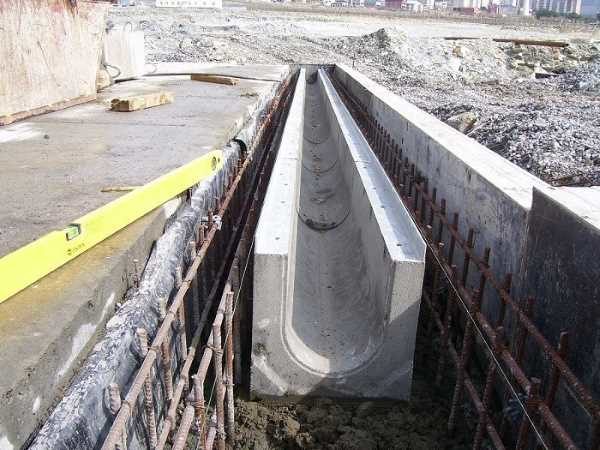
On a complex terrain, terracing is first carried out with retaining walls made of gabions or monolithic reinforced concrete. Otherwise, lateral soil movements will break the geometry of the tracks after a couple of years of operation.
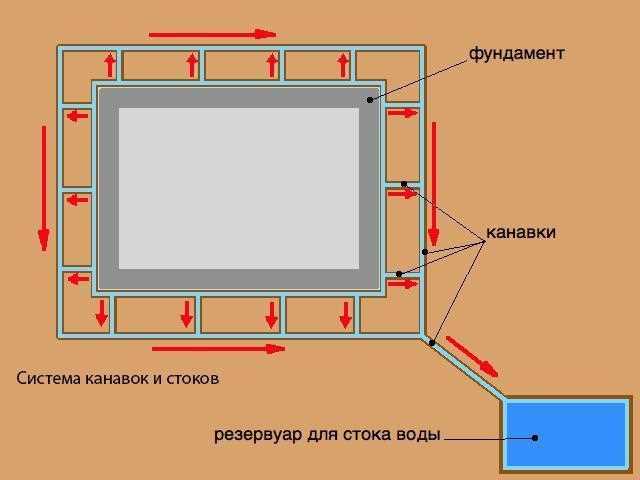
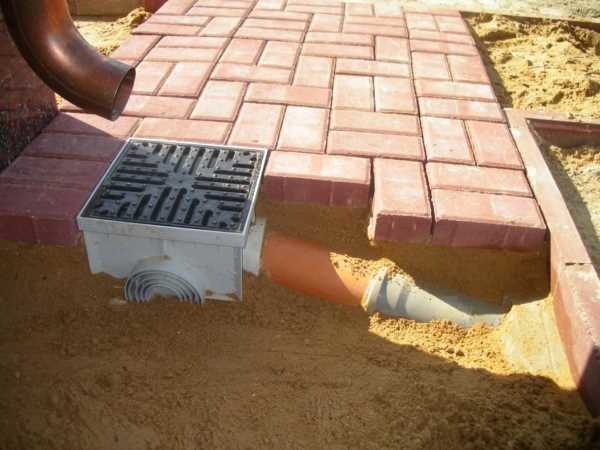
Even on flat areas, a slope of paving slabs is necessary, since the material is waterproof, and the gaps between the paving elements are not enough to quickly divert storm and flood runoff. Between the curbs and tiles, it is desirable to mount storm trays, and integrate storm water inlets under the vertical drains of roof drains.
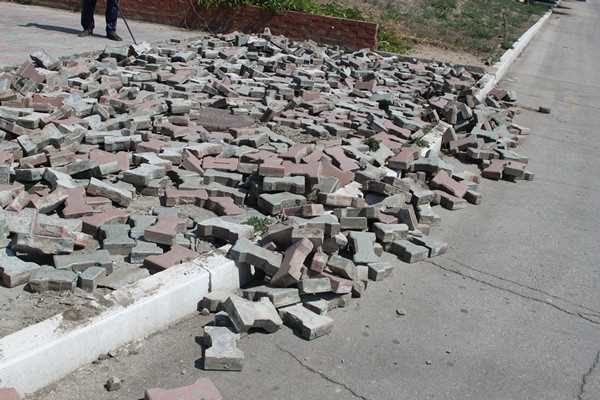
Technology of paving paving slabs
It is important for the home master to understand that the quality and resource of covering garden paths completely depend on the ground conditions:
- clay soils swell unevenly, breaking the geometry of sidewalks and parking lots;
- problem soils sink over time;
- on slopes and without contouring with a curb, the tile spreads.
To fix the base, the tile will have to be completely dismantled.
When buying non-metallic materials, it is worth considering:
- in parking lots, crushed stone fraction 20/40 is preferable, depending on the intensity of traffic and operational loads, with a layer thickness of 30 cm or more;
- crushed stone 5/20 with a layer of 10 - 15 cm is enough for paths;
- it is better to choose river or washed quarry sand with a minimum percentage of clay;
- when compacted with a vibrating plate, the compaction coefficients are 1.7 for sand, 1.3 for crushed stone, therefore, when buying, the volume of the pit must be multiplied by these figures, otherwise there will not be enough material.
Paving slabs must provide the required quality of the exterior of the tracks and the durability of the coating. Therefore, the lining is chosen according to the signs:
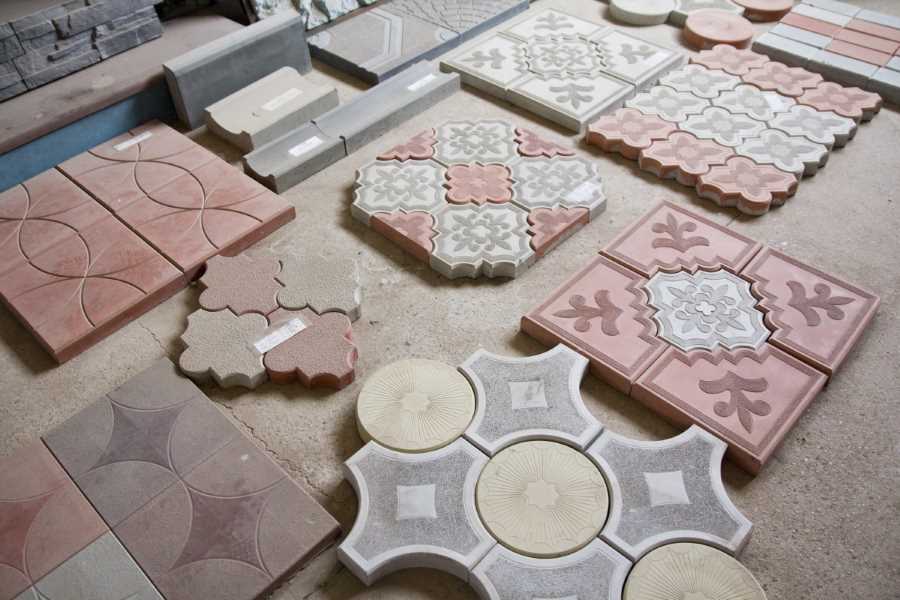
Hyperpressed paving slabs.
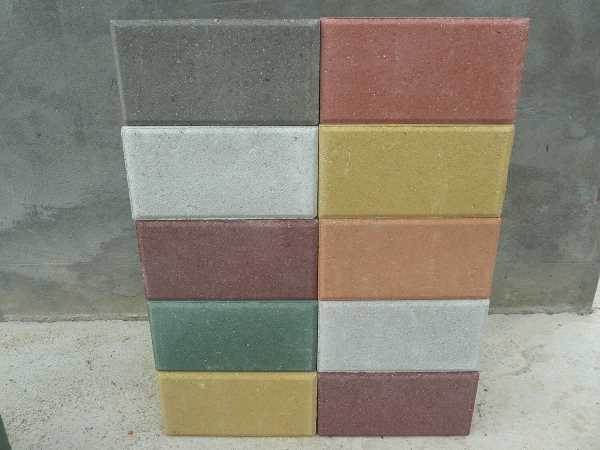
Important! Vibrocast products are cheaper, because they are easier to manufacture, have an original configuration, and reduce the finishing budget. Hyper-pressed tiles are difficult to split, damage, this option is optimal for parking lots that are serviced by snow plows in winter.
Vibrating TP.
Layout and layout
Unlike load-bearing structures, the layout of the backyard space is most often combined:
- curvilinear and radius forms are used to increase artistic value;
- straight tracks are marked with cast-off cords;
- roundings are outlined directly on the ground according to patterns or large-sized compasses (a rod tied with a cord to the central peg).
When marking, the following factors should be considered:
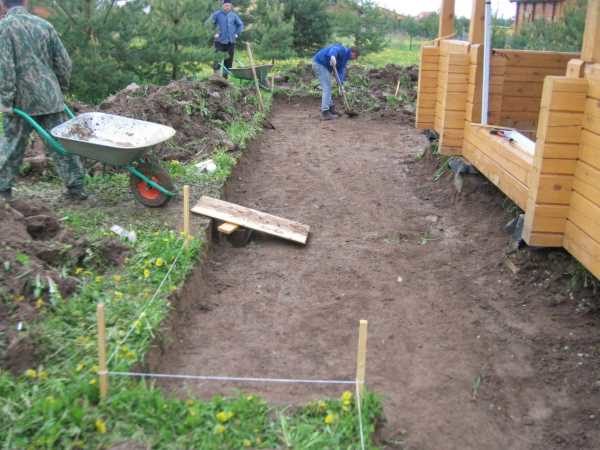
Chernozem contains organic matter, which rots under the tiles and shrinks. Therefore, the loose arable layer must be removed, used in beds, in landscape design, or removed from the site. The resulting layout is called by professionals a "trough", in which further paving operations are carried out.
Important! The roots of adult bushes and trees are dangerous for paving slabs, so they are either uprooted or routes for pedestrian traffic are laid at a distance of 3 m from them.
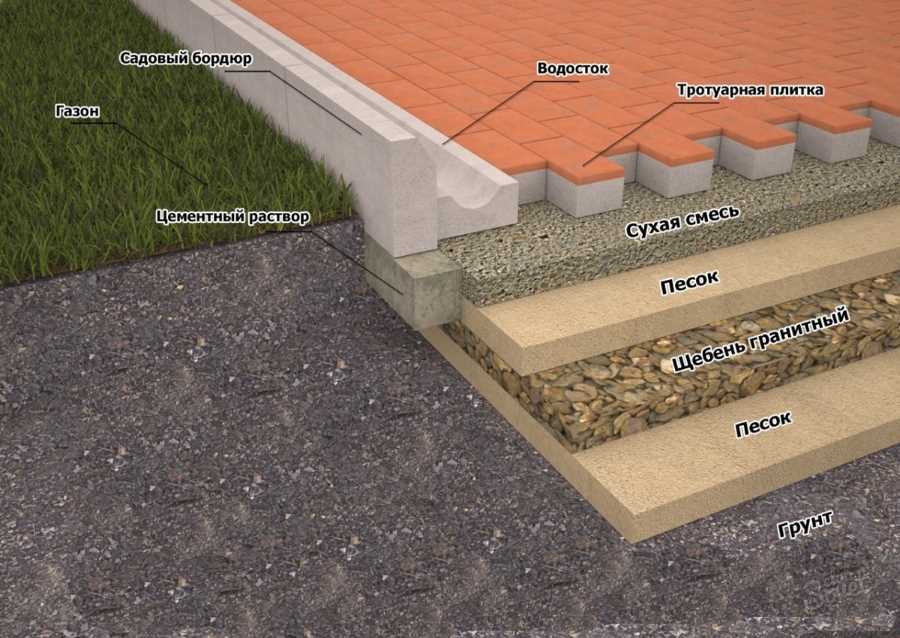
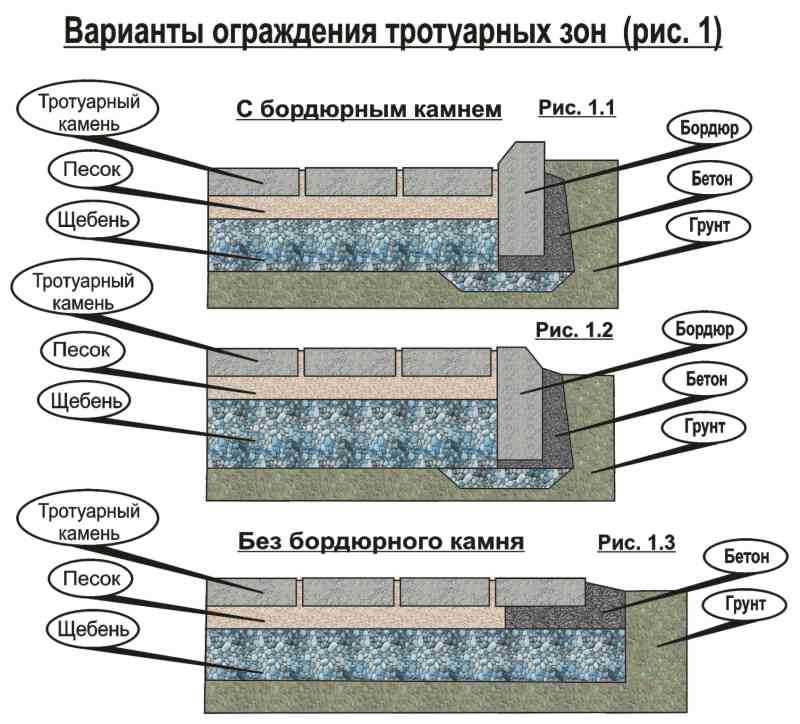
Drainage and bedding
TP should be laid on a rigid base with drainage properties, since part of the storm drains is discharged through the gaps between the tiles. However, natural drainage is not enough to cope with the entire volume of water in heavy rain and divert roof drains when walking a path near a house or lining a blind area with this material. Therefore, several conditions must be met:
If an arable layer of more than 40 cm is removed and a TP with a thickness of 6–8 cm is chosen for cladding, the thickness of the underlying layer increases sharply so that the paths rise slightly above the soil adjacent to them. To save the budget, in this case, cheaper materials can be used in the lower level of the underlying layer than crushed stone, river sand - sandy loam or loam. They also need to be compacted with a vibrating plate to a similar surface condition.
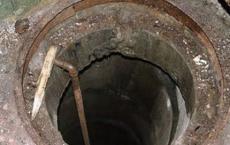
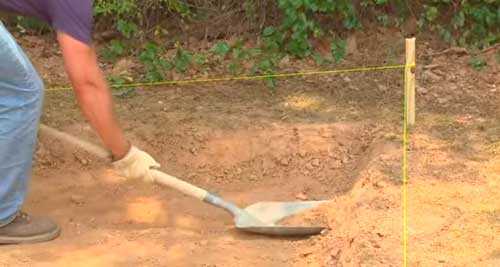
The curbs (curb stone) are much higher than the tiles (20 cm), therefore, along the paving contour, it is necessary to make a trench of the same width with a depth of 25–30 cm in order to place the curb on the mortar layer.
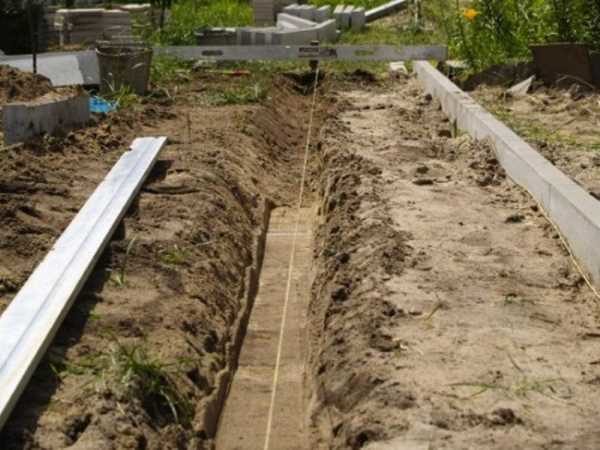
Trench for curb
Important! In places where storm drains pass, another trench will be required, since the height of these elements varies between 13 - 41 cm, depending on the design and material.
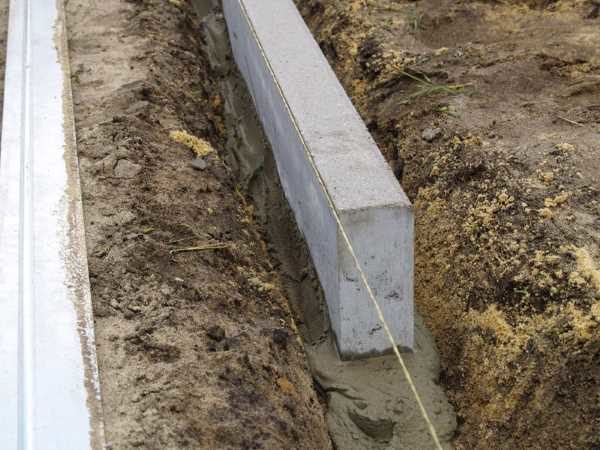
Installation of curb stone
Without curbs, the sidewalks will lose their shape, as the tiles on the sides will “creep”. The curb stone must be laid along the cord, taking into account the longitudinal and perpendicular slopes of the areas to be decorated, on a cement-sand mortar. The ratio of ingredients is 1/4 (cement / sand, respectively. The technology has the form:
- a mortar is laid in a trench with a trowel;
- the curb is installed on it and upset with a mallet along the cord;
- outside and inside in 2 - 3 places, the mortar is laid in a slide on the side surfaces of the curb just below the sand layer on which the tile will be mounted, as in the photo below.
Paving is possible in a day or two, after hardening with cement stone.
Advice! Regardless of the size of the storm trays, it is better to mount them along the curbs along with them at the same stage. These elements are also installed on a solution that takes time to harden.
paving tiles
There are methods for laying TP on a cement-sand mortar (for operation in harsh conditions), a dry mix (1/5 cement, sand, respectively) and on clean river sand. Practice has proven that when cement is added to a dry mix, the developer does not receive any additional benefits, but the maintainability of the coating decreases sharply and the finishing budget increases. Therefore, in 80% of cases, paving slabs are mounted on dry sand using the following technology:
Advice! Installing a curb stone at the ends of the tracks is not always possible. To prevent the spreading of paving elements in such a site, the last two rows are mounted on a cement-sand mortar.
Methods for adjoining TP to the ground and screeds.
The nuances of laying paving slabs
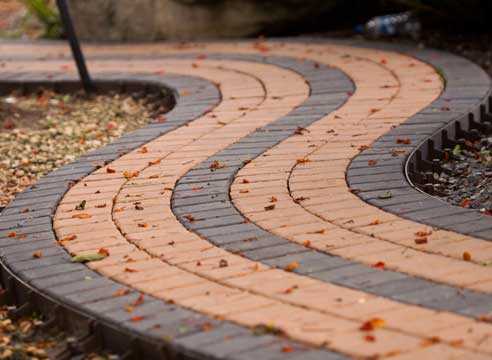
Problems with paving usually arise when making curved sections. The simplest option on radius paths is to lay rectangular elements, as in the bottom photo:
- the tile is oriented with the long side in the direction of travel;
- work starts from a smaller radius;
- each element is displaced relative to its neighbor;
- transverse and vertical seams are arranged in a wedge.
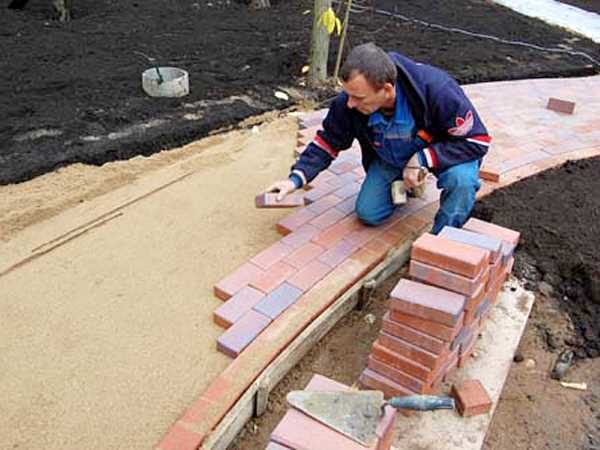
Rectangular TP on corners.
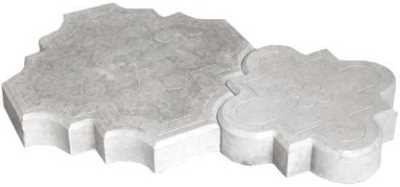
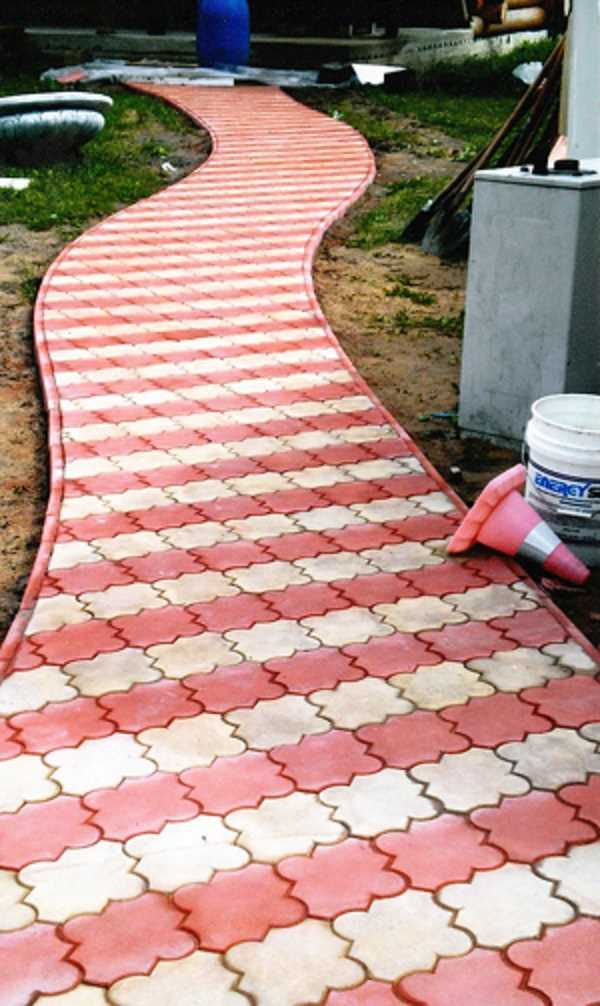
If the developer has chosen a collection of tiles with a complex configuration (for example, "clover"), the paving technique changes dramatically:
- the seams are displaced at 45 - 60 degrees along the length of the winding section;
- the surface is filled with solid elements;
- pieces are stacked near the curbs.
The Luch technology is less commonly used, when a rectangular format TP is oriented perpendicular to the curbs.
At complex radius intersections and large areas, the direction of the seams can change to increase the artistic value of the composition.
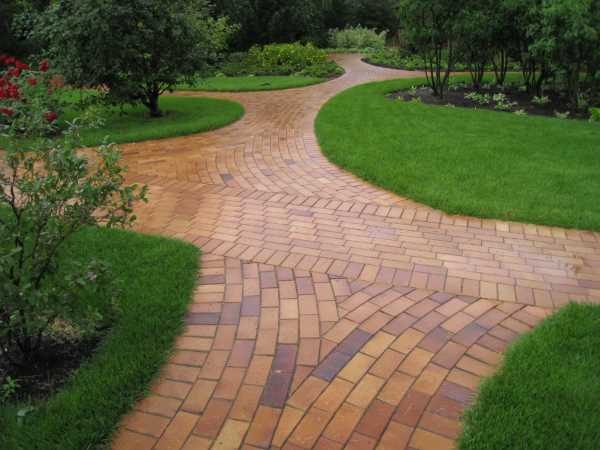
Decorating a complex radius intersection.
Thus, it is easiest and cheapest to pave paths, recreation areas and parking lots on the sand with cast or vibropressed paving slabs along straight routes. On radius sections, the above recommendations should be taken into account. For problematic soils, a rigid concrete sub-base should be made.
Advice! If you need repairmen, there is a very convenient service for their selection. Just send in the form below a detailed description of the work to be done and you will receive offers with prices from private craftsmen, repair teams and companies by mail. You can see reviews of each of them and photos with examples of work. It's FREE and there's no obligation.